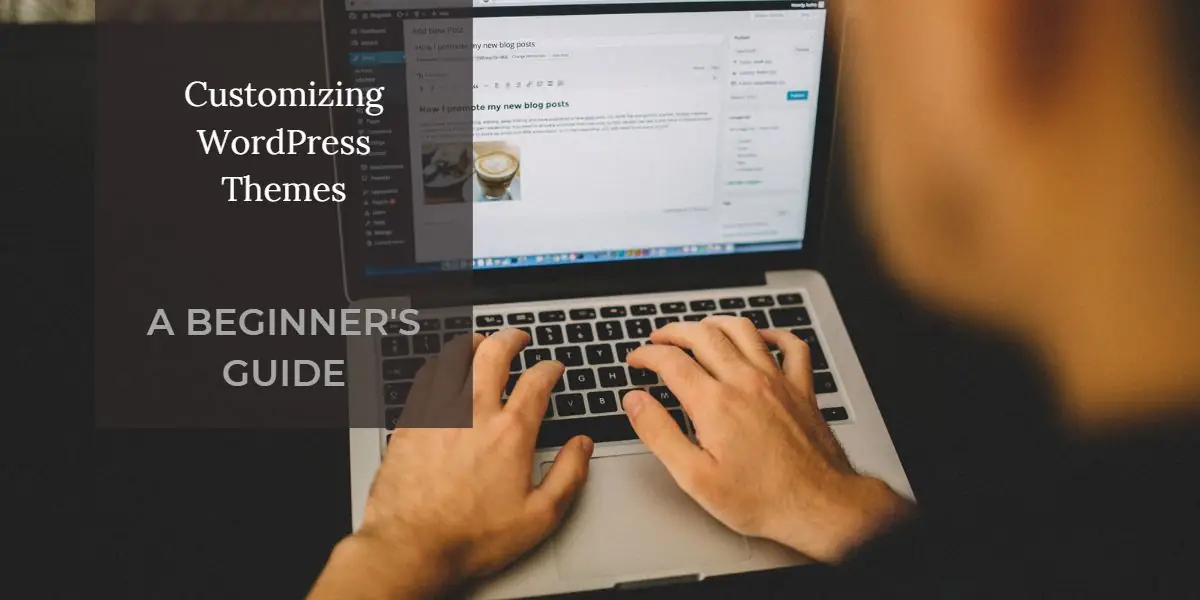
Installing and Customizing WordPress Themes
Are you a beginner looking to create a website or a blog using WordPress? One of the first steps you'll need to take is installing and customizing a WordPress theme. WordPress themes determine the overall design and layout of your website, allowing you to create a visually appealing and functional site that suits your needs. In this beginner's guide, we'll walk you through the process of installing and customizing WordPress themes, so you can get your website up and running in no time!
#1: Choose Your Perfect WordPress Theme
The first step in installing and customizing a WordPress theme is to choose the right one for your website. WordPress offers thousands of free and premium themes each with its own style, features, and functionality that cater to different niches and industries, so you're sure to find one that fits your style and requirements. To find the perfect theme for your site, consider the following:
- Purpose: Think about the purpose of your website and the type of content you'll be showcasing. For instance, a blog may require a different theme than an online store or a portfolio site.
- Design: Consider the design elements such as colors, fonts, and layout that align with your brand and content. Look for a theme that offers customization options to make it truly your own.
- Features: Consider the features you need, such as responsive design, custom widgets, or e-commerce integration. Look for a theme that offers the features you require for your website's functionality.
To browse and choose a theme, go to your WordPress admin dashboard and navigate to Appearance > Themes. Here, you can browse through the available themes, filter them by category, and preview their demo sites to get an idea of how they will look on your website. Once you find a theme you like, you can install it directly from the dashboard with just a few clicks. Once you've found the perfect theme, you're ready to install and customize it.
#2: Install and Activate Your WordPress Theme
- Installing and activating a WordPress theme is a straightforward process. Here's how you can do it:
- Access the WordPress admin dashboard and go to Appearance > Themes.
- Click the “Add New” button to browse and search for your desired theme.
- Once you've found your theme, click the “Install” button, and then click the “Activate” button to make it the active theme on your website.
- Your theme is now being installed and active.
Once the theme is activated, you'll see the changes reflected on your website. You can always change or switch themes later if you decide you want a different look for your site.
#3: Customize Your WordPress Theme
Now that you've installed and activated a WordPress theme, it's time to customize it to make it truly your own. Here's how you can do it:
Explore the customization options available for your theme. These may include site identity (logo, site title, and tagline), header and footer settings, homepage settings, menus, widgets, and general styling options.
As you make changes in the Theme Customizer, you can preview them in real-time on your website. Once you're satisfied with the changes, click the “Save & Publish” button to apply them to your live site. Keep in mind that the “Save & Publish” button will make the changes permanent, so make sure to review your changes carefully before clicking it.
#4: Install Plugins for Additional Customization
Plugins are third-party software that can extend the functionality of your WordPress website. Depending on the theme you've chosen, you may want to install plugins to further customize your website. For example, you might want to add a contact form, a social media feed, or an image gallery. Here's how you can do it:
- In your WordPress admin dashboard, go to Plugins > Add New and select a plugin.
- Search for plugins based on the functionality you want to add to your website.
- Install and activate the plugins that meet your requirements.
- Access the plugin settings to customize their appearance and behavior to match your theme.
#5: Test and Refine Your Website
Once you've customized your WordPress theme and added plugins, it's essential to test your website thoroughly. Check all the pages, links, forms, and other elements to ensure they are functioning correctly. Test your website on different browsers and devices to ensure it looks good and works well across various platforms. If you encounter any issues, go back to the Theme Customizer or plugin settings to make necessary adjustments. Don't hesitate to iterate and refine your website until it meets your expectations.
Additionally, take the time to fine-tune your website's design and layout to ensure it aligns with your branding, content, and overall goals. Experiment with different color schemes, fonts, and images to create a cohesive and visually appealing website that represents your unique style and message.
Remember, customization is an ongoing process, and you can always make changes and updates to your WordPress theme as your website evolves. Regularly review and update your theme and plugins to ensure they are up-to-date with the latest features and security patches.
Final Thoughts
Installing and customizing WordPress themes is an exciting and essential part of building a website or blog. With the right theme and customization options, you can create a unique and professional-looking website that reflects your brand and engages your audience. Follow the steps outlined in this beginner's guide, and don't be afraid to experiment and iterate until you achieve the desired look and functionality for your website. Happy customizing!
Popular posts

Explaining Laravel's Controller
One of the core components of Laravel is the Controller, which plays a vital role in the MVC (Model-View-Controller) architecture.

Digital Marketing Trends to Watch for Now and Beyond
Digital marketing has become an integral part of modern business strategies, and its importance will only continue to grow as we venture into the future.

Why Website Revamping is Important for Your Business
A website that fails to meet your audience's expectations can harm your business and sales, highlighting the importance of website revamping for your business.

The Psychology of Digital Marketing
To be successful in digital marketing, you need to understand the psychology of your target audience and how they behave online.

How to Clear Laravel Cache: A Step-by-Step Guide
During development or after making significant updates, you may need to clear the caches, to see your changes reflected, learn how to clear Laravel cache.

Laravel Error Handling
In this blog post, we'll delve into Laravel error-handling mechanisms and explore how you can effectively manage sand handle errors.